
As Deadman Mode accelerates, efficient routing becomes the difference between steady progression and falling behind. Step 4 of the Annihilation route focuses on stacking quick experience and diary-style points in a compact, low-risk loop between the Wizard’s Tower and Draynor Village.
These two locations sit side by side, allowing you to secure easy Annihilation Points while avoiding high-traffic PvP zones. On paper, this step looks simple. In practice, it delivers serious value for minimal time investment.
If executed cleanly, you’ll walk away with boosted Agility and Thieving, over 70 points, and strong early momentum-all without exposing yourself to unnecessary danger.
Step 4 Overview: Why This Route Works
The Wizard’s Tower and Draynor Village offer:
·Safe, low-traffic positioning early in the tournament
·Multiple instant-complete diary tasks
·Minimal combat requirements
·Strong synergy with Agility and Thieving progression
By combining these into one tight loop, you reduce travel time and maximize point efficiency. Deadman Mode rewards speed and risk management. This step does both.
Preparing in Lumbridge
Before heading south, take 60 seconds to prepare in Lumbridge:
·Buy an Iron Axe from Bob
·Buy a Jug from the general store
These items are cheap, lightweight, and required for upcoming tasks. Skipping this preparation forces backtracking later, which wastes time and exposes you to more risk.
Once both items are secured, head south toward the Wizard’s Tower.
Wizard’s Tower: Essence Mine Teleport
Inside the Wizard’s Tower, speak with Sedridor and request a teleport to the Essence Mine.
Reward: 15 Annihilation Points
This task takes only seconds. No combat, no risk, instant progress.
Even though Runecrafting isn’t the focus here, unlocking and reinforcing teleport access to the Essence Mine becomes useful later. In Deadman Mode, future-proofing your mobility matters.
After arriving in the Essence Mine, teleport out immediately and head to Draynor Village.
Draynor Village: Agility and Thieving Gains
Draynor Village is a Deadman Mode staple. It offers fast XP, easy tasks, and excellent geographic positioning.
Complete One Lap of the Draynor Agility Course
Run a single lap of the Draynor Agility Course.
Reward: 15 Annihilation Points
The course is quick and relatively safe early in the tournament. Even one lap contributes toward your Agility scaling and secures guaranteed points with minimal effort.
Low risk. Immediate return.
Pickpocket a Master Farmer
Locate a Master Farmer in Draynor and successfully pickpocket him.
Reward: 25 Annihilation Points
By Step 4, your Thieving level should be sufficient to attempt this. Master Farmers also provide valuable seeds, which can support farming progression or generate profit later.
This task is important for two reasons:
1. It grants one of the higher point values in this loop.
2. It transitions you into more profitable Thieving content moving forward.
If you’re optimizing time during Deadman Mode, efficient skilling like this keeps your XP curve ahead of the pack.
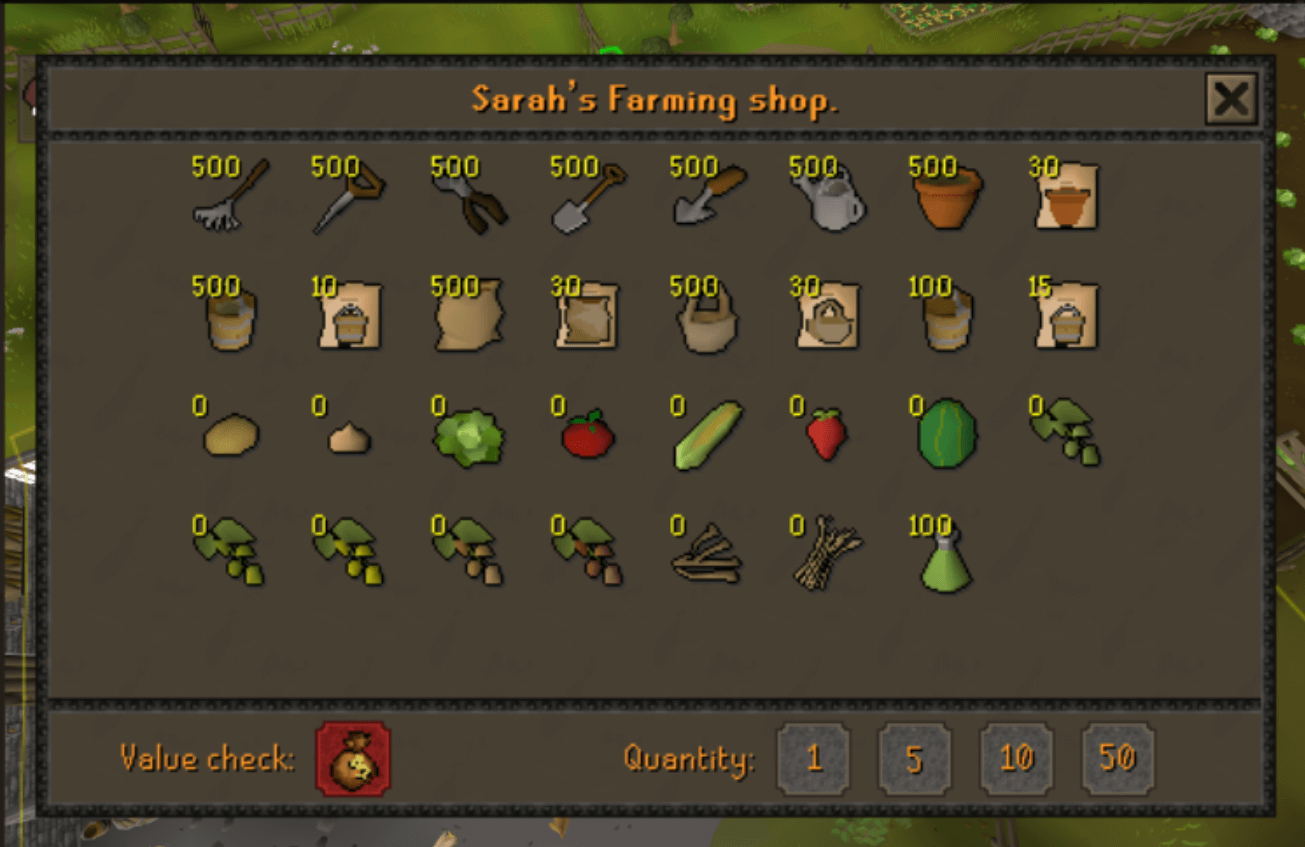
Sarah’s Farm Shop Task
Head northwest of Draynor Village to Sarah’s Farm Shop and simply open the shop interface.
Reward: 15 Annihilation Points
It’s easy to overlook, but diary-style tasks like this are critical in Deadman Mode. They offer guaranteed progress without requiring combat or expensive gear.
You are stacking safe points while others are risking bank value.
Fill Your Jug with Water
With the jug purchased earlier, locate any nearby water source and fill it.
It seems trivial, but it satisfies achievement-style objectives tied to progression. Because you prepared in Lumbridge, you avoid backtracking and maintaina clean routing.
This is what smart tournament play looks like: eliminate inefficiency before it costs you.
Total Rewards from Step 4
If executed efficiently, this loop provides:
·70+ Annihilation Points
·Agility XP from Draynor
·Thieving XP via Master Farmer
·Multiple diary-style completions
·Zero mandatory combat encounters
More importantly, you maintain tempo.
Deadman Mode punishes hesitation. This step keeps you moving forward without attracting attention from PKers.
Managing Resources and Momentum
Deadman tournaments are won by players who manage time, resources, and exposure better than everyone else. Compact, reward-dense loops like this are how experienced players build early leads.
As the tournament progresses, many competitors look for ways to reduce downtime. Some players choose to secure affordable OSRS gold through reliable marketplaces so they can skip slow early-game rebuilding after deaths. Others prefer to buy OSRS items directly to accelerate gear upgrades and focus on PvP positioning rather than grinding replacement supplies.
The key is efficiency. Whether you gather everything yourself or optimize through trading, your goal is to keep momentum.
Just be strategic. Overspending early can leave you exposed later. Every advantage should support your tournament plan, not distract from it.
Why Step 4 Is a Critical Pivot Point
This route isn’t flashy. It’s foundational.
You:
·Secure safe points
·Advance key skills
·Improve mobility
·Avoid unnecessary PvP exposure
Players who ignore efficient micro-steps like this often find themselves under-leveled or behind in point totals when the tournament intensifies.
Deadman Mode rewards consistency more than hero plays.
Final Thoughts: Stay Lean, Stay Ahead
Step 4 of the OSRS Deadman Mode Annihilation route is a textbook example of efficient progression. By linking the Wizard’s Tower and Draynor Village into a single clean loop, you stack experience and Annihilation Points without taking unnecessary risks.
Finish this step quickly. Keep your inventory light. Stay alert to player movement.
Momentum is everything in Deadman Mode. Execute this route properly, and you’ll be positioned to transition into higher-value skilling, smarter PvP decisions, and stronger economic control, while others are still scrambling to catch up.